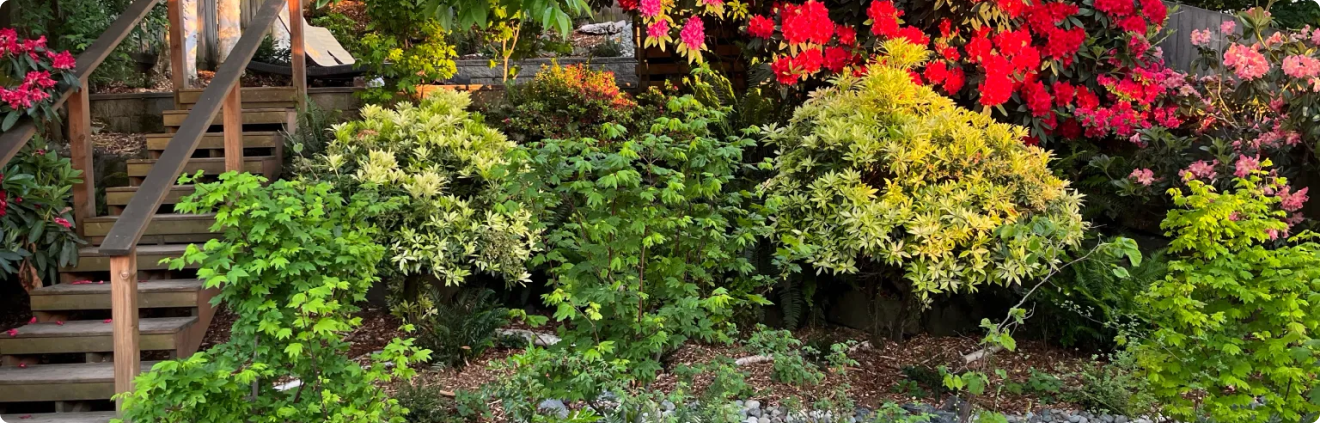
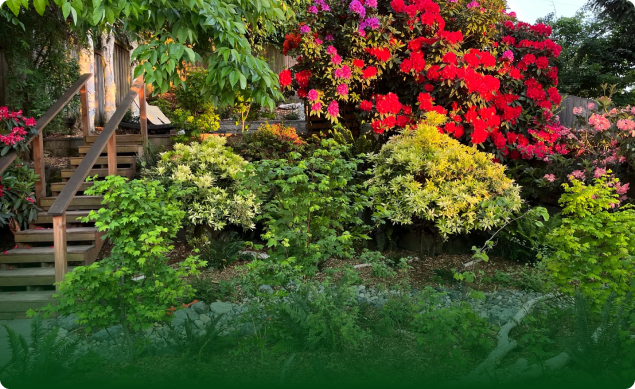
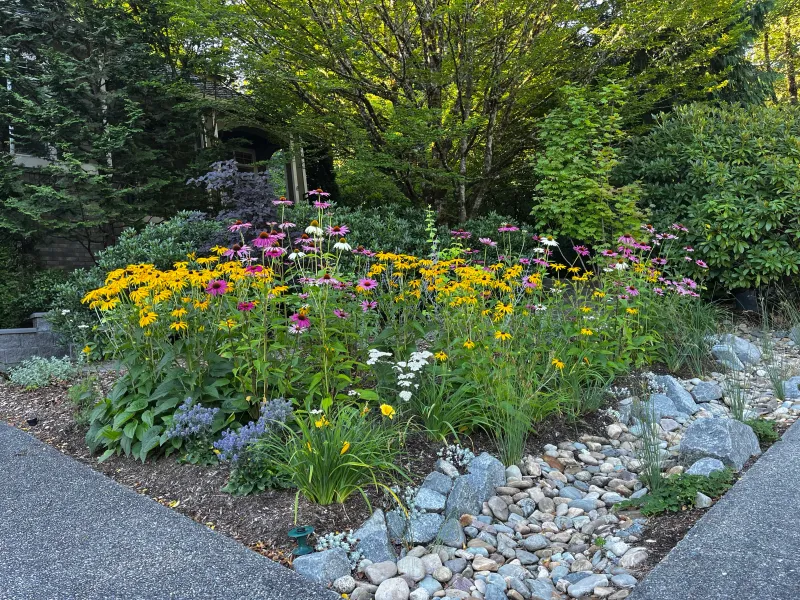
Irrigation systems in Seattle are often treated as an optional upgrade. In reality, they are core landscape infrastructure. Winters are wet, but summer dry periods are long enough to stress lawns, shrubs, and new planting fast, especially in exposed areas and raised beds. A good irrigation plan protects plant health, reduces replacement costs, and keeps your landscape looking intentional through the full season.
This guide explains how to plan irrigation systems Seattle homeowners can rely on year after year. You will learn how to zone by plant need, pick the right delivery method for each area, schedule watering by season, and coordinate irrigation with the rest of your landscape design. For full-site context, use this with the Seattle landscaping guide and landscape design Seattle WA.
If you want an irrigation plan that matches your plant zones and Seattle seasonal shifts, request a consultation with Rutheo Designs and we can map system zones and scheduling strategy for your property.
Why Irrigation Is a Seattle Design Decision
In Seattle, irrigation quality determines whether summer landscapes stabilize or decline. Hand watering can work for small areas, but on most properties it becomes inconsistent during heat events, travel weeks, or busy schedules. The result is uneven growth, stressed root systems, and patchy performance.
When irrigation is planned as part of design, the yard functions better. Plant zones get the water they actually need, schedules can be adjusted seasonally, and infrastructure conflicts are handled before installation.
Step 1: Audit Your Site Before Choosing Equipment
Do not start with hardware. Start with site conditions and planting goals.
A useful irrigation audit includes:
- Sun exposure by zone
- Soil texture and drainage behavior
- Plant types and root depth expectations
- Slope and runoff tendencies
- Existing hose bibs or supply access
This audit prevents two common errors: overbuilding a system where simple zoning would work, or undersizing a system that cannot support the planting plan. It also helps estimate realistic watering run times and pressure requirements.
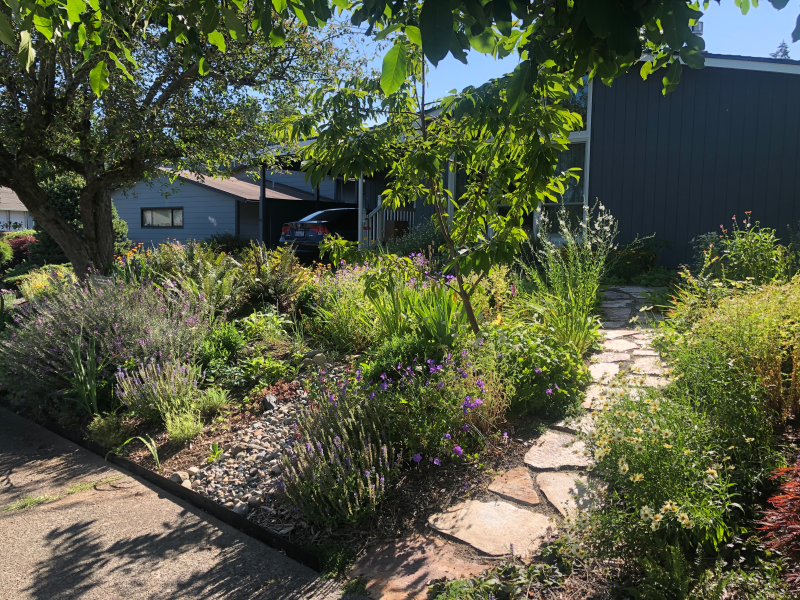
Step 2: Design Zones by Plant Type and Exposure
Hydro-zoning is the difference between a system that performs and one that wastes water.
Each zone should group plants with similar needs:
- Lawn zones
- Shrub zones
- Perennial/ornamental zones
- New-establishment zones
- Container or raised-bed zones
Do not combine high-demand and low-demand plants in one zone if avoidable. Mixed needs force compromises that usually overwater some areas and under-water others.
Exposure matters too. South-facing areas, reflective hardscape edges, and windy corners often need different runtimes than shaded beds under mature canopy.
Step 3: Match Delivery Method to Landscape Area
Different landscape areas need different watering methods.
Common choices:
- Drip irrigation for beds, shrubs, and targeted root delivery
- Spray for small lawn sections and higher-demand turf
- Rotary nozzles for larger turf areas where slower, even coverage is needed
- Micro-irrigation options for containers and specialty zones
Drip systems are often strong choices for Seattle planting beds because they reduce overspray and direct water where roots can use it. Turf areas may still require spray or rotary coverage depending on size and layout.
The right choice depends on plant type, spacing, and how the zone is used. One method for every zone rarely performs well.
Step 4: Control Schedules by Season, Not Habit
Watering schedules should shift with weather patterns and plant stage, not remain fixed all year.
A practical pattern:
- Spring: moderate, observation-heavy schedule while soils are still moisture-rich
- Summer: deeper, less frequent cycles tuned by exposure and plant demand
- Early fall: tapered reductions as temperatures and evapotranspiration drop
- Winter: minimal to off in many zones unless specific establishment needs apply
Smart controllers can help, but no controller replaces thoughtful zone design. Technology works best after system fundamentals are correct.
Step 5: Coordinate Irrigation With Lighting and Hardscape
Irrigation should be installed in coordination with hardscape and lighting, not after both are finished. Late-stage irrigation work often causes avoidable trenching through completed areas.
Coordinate early:
- Sleeve locations before hardscape pour/set
- Trench paths that avoid future feature zones
- Control and valve access points
- Fixture/line separation from lighting infrastructure
If lighting is part of the project, review landscape lighting Seattle while finalizing irrigation layout. This coordination improves install quality and reduces corrective labor.
Step 6: Build for Reliability and Easy Maintenance
Long-term performance depends on serviceability as much as design.
Your system should be easy to inspect and adjust:
- Clearly organized valve groups
- Accessible control location
- Filters and flush points where needed
- Identifiable zone mapping for seasonal tuning
Systems that are hard to maintain usually drift out of calibration. That leads to higher bills, stressed planting, and diminished landscape quality over time.
For homeowners in the northern service area, local installation and follow-up considerations can vary slightly by property type and layout. This guide helps with planning context: landscaping services in Kenmore.
Common Mistakes to Avoid
Most irrigation problems come from planning shortcuts rather than equipment failure.
Avoid these common mistakes:
- One-zone-fits-all design across mixed plant types
- Fixed summer schedules run year-round
- Irrigation installation after hardscape/lighting completion
- No establishment strategy for newly planted zones
- No annual check for nozzle alignment and coverage drift
A system does not need to be complex to be effective. It needs to be matched to the site, easy to adjust, and maintained regularly.
Frequently Asked Questions
Do Seattle homes really need irrigation if it rains so much?
Yes in most cases. Winter rainfall does not meet summer water needs, especially for newer planting, exposed zones, and containers. A planned system keeps growth stable through dry months.
Is drip always better than spray?
Not always. Drip is usually excellent for beds and shrubs, while turf areas may need spray or rotary options. The best systems combine methods based on zone purpose.
How often should I adjust my irrigation schedule?
At minimum, adjust by season. Many homeowners benefit from monthly checks in summer, especially during heat events or after major planting changes.
Can I phase irrigation if I am redesigning over time?
Yes, but start with a full plan so early phases do not conflict with later work. Planning the whole system first reduces rework and cost.
What is the first sign a system is not tuned correctly?
Usually uneven plant performance: some areas stressed while others stay too wet. Pooling, overspray onto hardscape, and algae growth are also common indicators.
Conclusion
Irrigation systems Seattle homeowners get the most value from are designed as part of the landscape, not bolted on later. When zones match plant needs, schedules shift by season, and installation is coordinated with lighting and hardscape, the entire yard performs better with less waste and less guesswork.
If you are planning upgrades this season, start with a site audit and zone strategy before selecting equipment. That sequence protects your budget and produces stronger results in every stage of landscape growth.
If you want Rutheo Designs to plan and deliver this on your property, request a consultation with Rutheo Designs so we can map scope, sequencing, and next steps.


